
 EN

How to Clean a Mixer Truck Drum After Concrete Delivery?
Cleaning a mixer truck promptly after concrete delivery is not simply a housekeeping task. It protects the drum from hardened buildup, keeps the next load from being contaminated, and helps the crew control caustic washwater. From an operator viewpoint, the routine has to fit the unloading area, the approved washout point, and the daily inspection schedule—not just the clock.
The safest approach is to follow the truck manufacturer’s operating manual and your company’s site procedure. The sequence below is a practical framework for a normal return-to-plant or approved-site washout. It is not permission to enter the drum, discharge slurry onto the ground, or bypass local wastewater rules.
Why timing matters for mixer drum cleaning
Concrete residue gets harder to remove as hydration continues. A quick rinse while the residue is still workable generally requires less water, less scraping, and less wear than trying to remove a thick hardened ring later. That is the maintenance side; the next question is where the rinse water goes. Concrete washwater and slurry must be directed to an approved contained system rather than a storm drain, ditch, or unprotected soil.
Good mixer drum cleaning therefore has two linked goals: remove material before it sets and retain all liquid and solids for the site’s approved handling process. The EPA’s concrete-washout guidance describes contained collection of washwater and solids and identifies controlled reuse of washwater for additional truck washout as one possible managed practice. Local rules and plant procedures determine what is allowed at your location.
Before washing: make the mixer truck safe
Park the mixer truck on firm, level ground in the designated washout area. Keep pedestrians out of the discharge zone, apply the parking brake, and use the site’s traffic controls. Confirm that the washout container or pit has enough remaining capacity before adding water or slurry.
- Wear the PPE specified for wet concrete and splash exposure, typically suitable gloves, eye/face protection, protective clothing, and slip-resistant boots.
- Inspect the chute, hopper, guards, water controls, and drum controls for obvious damage before operating them.
- Keep hands, tools, and loose clothing clear of moving chutes, pinch points, and rotating equipment.
- Do not climb into, reach into, or enter the drum for routine cleaning. A drum can present confined-space and machinery hazards; entry requires a separately authorized procedure.
- Do not use high-pressure water in a way that sprays slurry toward people, traffic lanes, or drains.
Wet cementitious material can irritate or burn skin and eyes. OSHA guidance identifies wet concrete as a chemical-burn hazard, so remove contaminated clothing and follow your site’s first-aid process if contact occurs. Do not wait for discomfort to decide whether to rinse exposed skin.
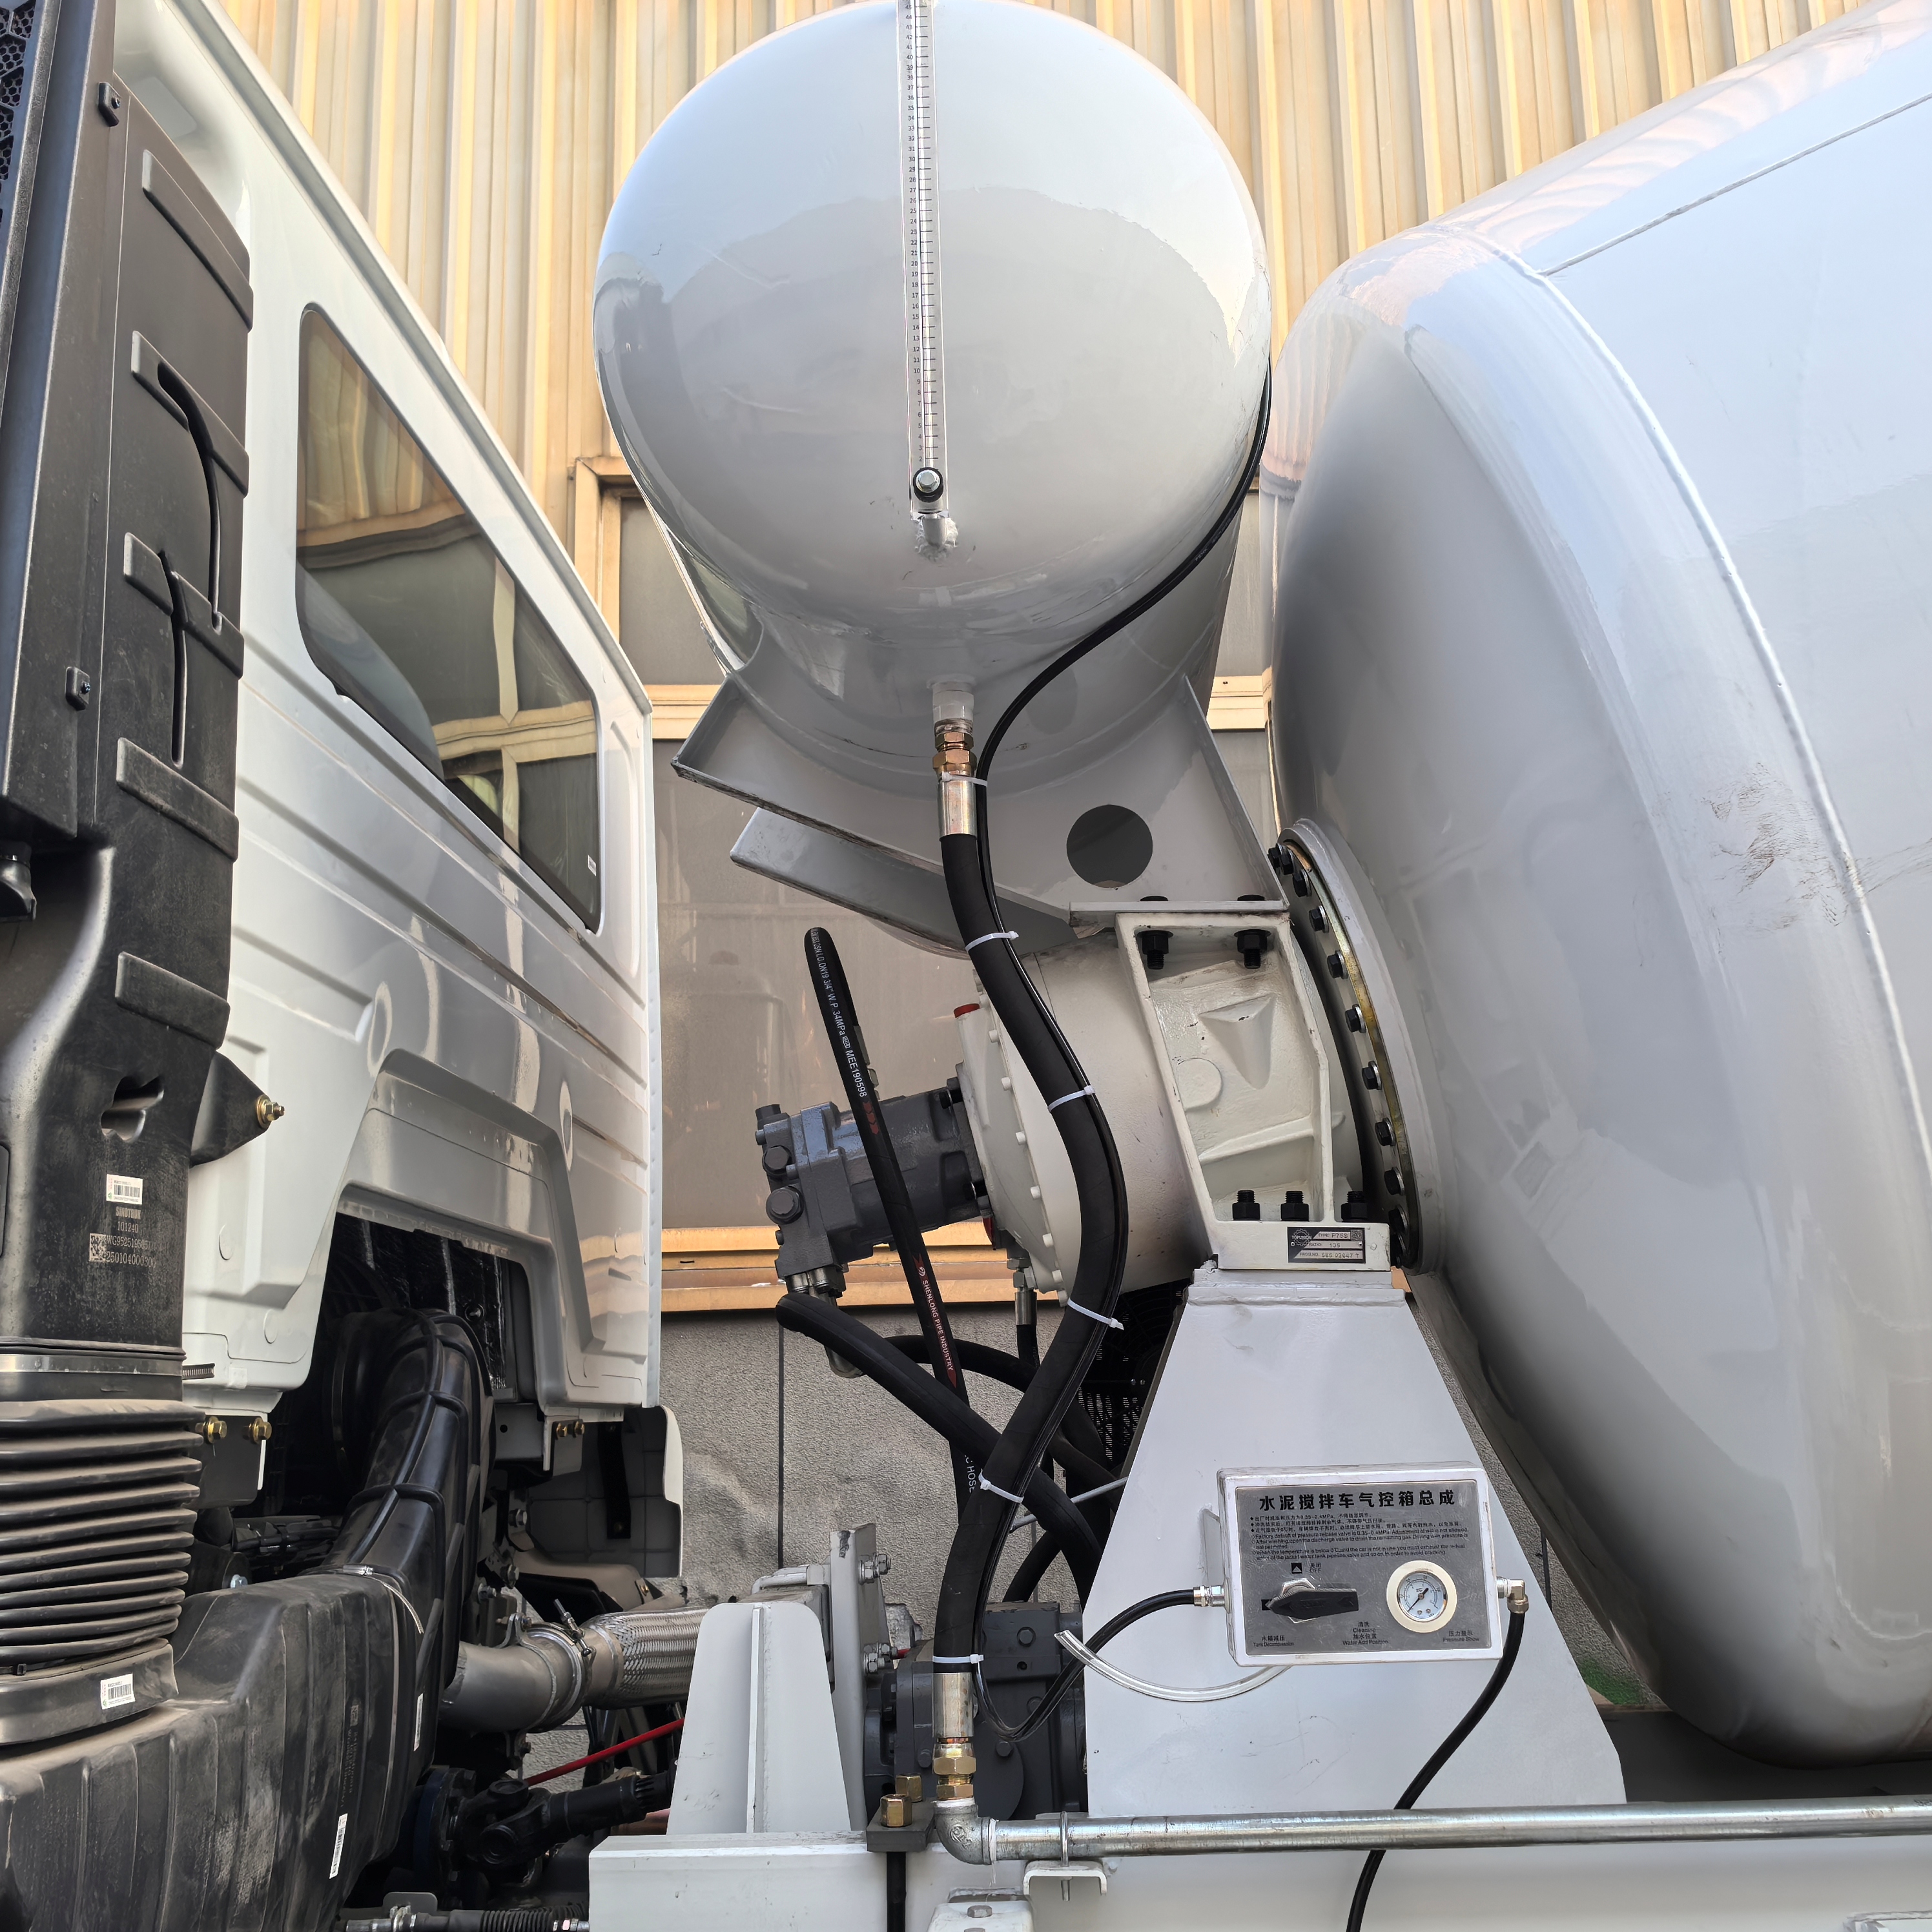
A step-by-step drum washout routine
1. Discharge all usable concrete first
With the drum turning at the manufacturer-approved speed and direction, complete normal discharge through the chute. Do not try to improve a cleanup by altering the rotation sequence outside the equipment instructions. The goal is to leave as little fresh concrete as practical before water is introduced.
2. Position over approved containment
Move or position the mixer truck so water, fines, and aggregate fall inside the designated washout system. Check that the chute is supported and controlled. If the area is not ready, pause and contact the dispatcher, plant, or site supervisor rather than creating an informal drum washout location.
3. Add rinse water in controlled portions
Add only the amount of water permitted by the truck procedure and jobsite plan. Avoid treating the drum as a storage tank for an arbitrary water volume; excess water changes the amount of slurry the containment system must receive and can create an overflow issue. Let the drum rotate long enough to loosen residue, then discharge the rinse into containment. Repeat controlled short cycles as needed instead of one uncontrolled flood.
4. Rinse the chute and external contact areas
Use a low, directed flow to rinse the hopper, chute, discharge blades, and any exterior surfaces carrying fresh splatter. Keep runoff within containment. This part of concrete truck maintenance reduces hardened buildup around hinges, locks, and supports, but it should not force water into bearings, electrical components, decals, or openings identified as protected in the manufacturer manual.
5. Finish with a visual check
After the final discharge, look through accessible openings from a safe position. Check for residual fresh concrete at the fins, discharge end, and chute transition. You are checking for obvious material and abnormal conditions—not conducting an internal drum inspection from inside the vessel. Record anything that cannot be handled by the normal wash routine.
Turn cleaning into mixer maintenance
A consistent washout gives the operator a useful opportunity to spot issues early. During routine mixer maintenance, examine the outside of the drum and discharge system for leaks, cracked weld areas, damaged guards, loose fasteners, worn chute rollers, missing pins, or water-system faults. A useful checkpoint is inspection access; relate it to the actual loading and unloading routine rather than relying on a quick walk-around alone.
| Check after washout | Why it matters | Action |
|---|---|---|
| Chute locks, pivots, and supports | Residue can restrict movement or conceal wear. | Clean accessible buildup and report damaged or binding parts. |
| Drum exterior and discharge area | Fresh leaks or unusual vibration signs are easier to see when surfaces are clean. | Document and escalate per the fleet maintenance process. |
| Water valves and hoses | A leaking or blocked line can disrupt the next washout. | Close valves, inspect fittings, and report defects. |
| Washout containment level | Overflow can carry alkaline slurry outside the controlled area. | Notify the responsible site team before capacity is exceeded. |
Common mistakes to avoid
- Waiting until the next shift: fresh material becomes harder to remove and can add unnecessary removal work.
- Washing onto bare ground or near a drain: this defeats containment and may violate site and environmental requirements.
- Using unplanned tools near a rotating drum: stop and isolate equipment before any task that requires more than normal external washing.
- Ignoring the chute: hardened material on locks and pivots can create a handling problem on the next delivery.
- Assuming every mixer truck uses the same water amount or control sequence: use the instructions for the actual truck configuration.
Build a repeatable post-delivery checklist
For fleet managers, the strongest result comes from making the process routine: designated containment, a clear driver sequence, available PPE, an inspection list, and a defined handoff when a defect is found. If a route and payload are stable, this may be a practical starting point. If sites vary, drivers should verify the approved washout location before discharge begins.
In short, clean the mixer truck promptly, contain every rinse, keep clear of rotating equipment, and use the washout as a maintenance check. That discipline helps protect the drum, the next load, the operator, and the worksite.